I had the privilege of running a workshop at uOttaHack 4 in February of 2021; the video will be edited and uploaded eventually, but for now, I’m publishing this set of notes that I used to guide students through the creation of a small, emotionally sensitive online journal.
To inform attendees of my impending workshop, I posted this:
Hey, I’m Ryan,
Tonight (9PM!) I’ll be teaching y’all how to read the thoughts of your [users] to detect emotion in the content that they post, and in general, how to find and use free APIs to make your program AWESOME!
If you know how to write some python, you can use the power of the web to suggest cocktails, get stock information , news, recognize faces, and translate text.
Come along with me (this is a workshop for beginners,) as we implement a small web app using flask, and call the IBM Watson Tone Analysis endpoint to process journal entries and let users see what kinds of emotions are locked up in their prose!
See you all at 9, and bring a friend!
Prerequisites
- A bit of Python knowledge
- An IBM Cloud Account (you can make this now, steps below)
- A Repl.it account (you can also make this later)
The Magic of APIs
Public APIs allow developers to submit data/queries, or simply GET data from
endpoints that are accessible via the web. By integrating calls to well-built
and fast APIs into your app, you can add tons of value for users by combining
their own data and data grabbed from APIs in unique ways.
Today I’ll be showing you how to use the Tone Analyzer endpoint on IBM Cloud. I figured that, with a focus on mental health, getting to know how our users are feeling by analyzing what they’re saying would be useful, though perhaps a little bit evil.
IBM Cloud
There’s a lot of buttons and fancy things in the IBM Cloud control panels, so here’s how to sign up and get your API Keys and URL:
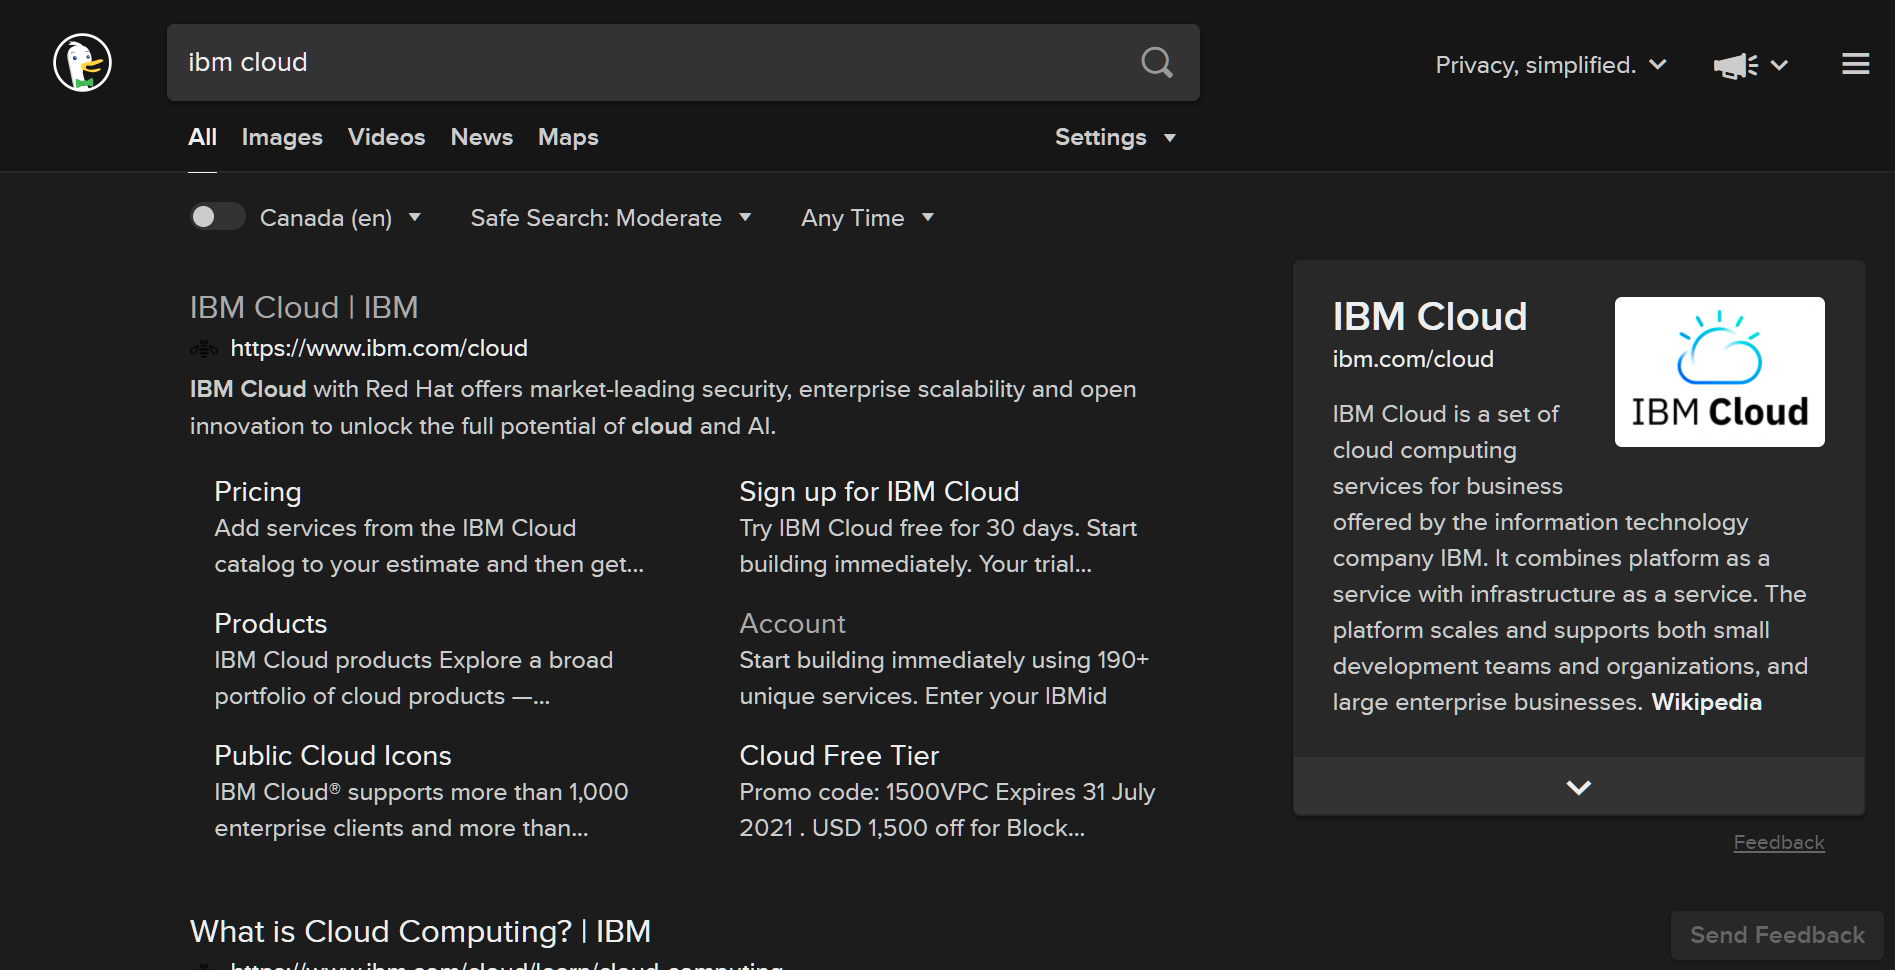
- Search for “IBM Cloud” or go to https://www.ibm.com/cloud
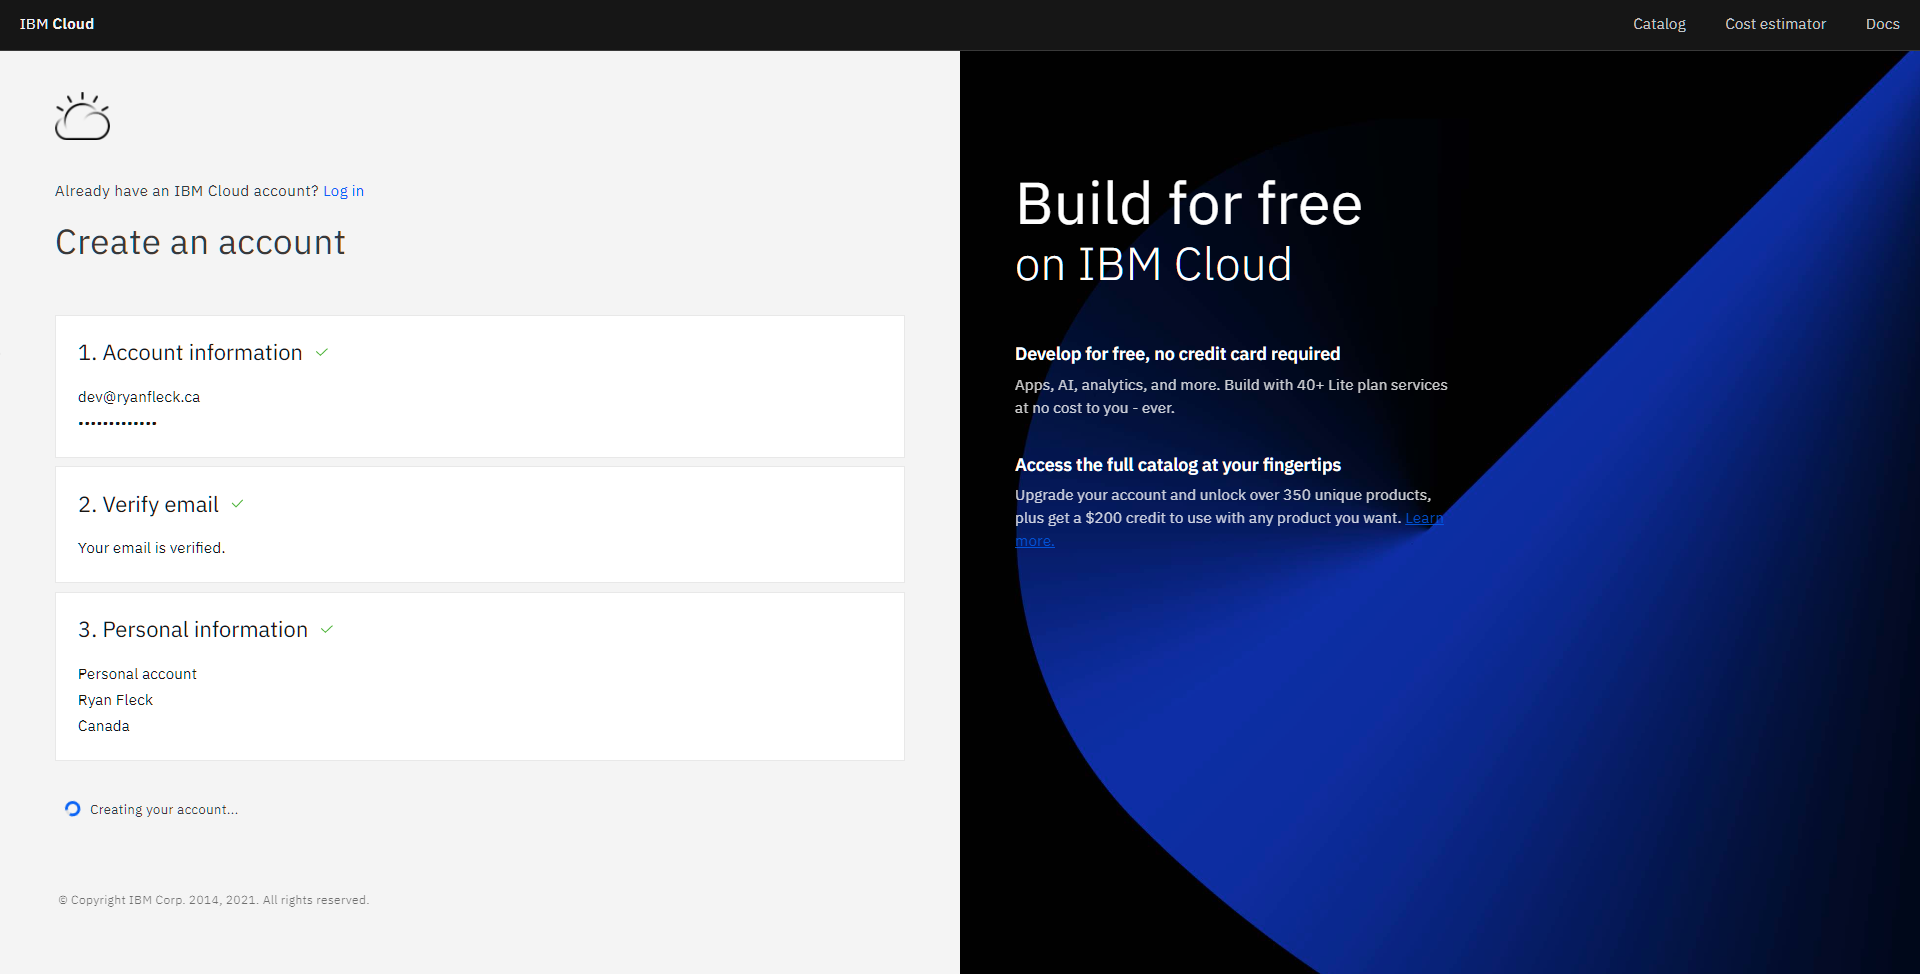
- Click the sign-up link. (Just want to be exhaustive here.)
- Create an account and verify your email (you’ve got to be 16?)
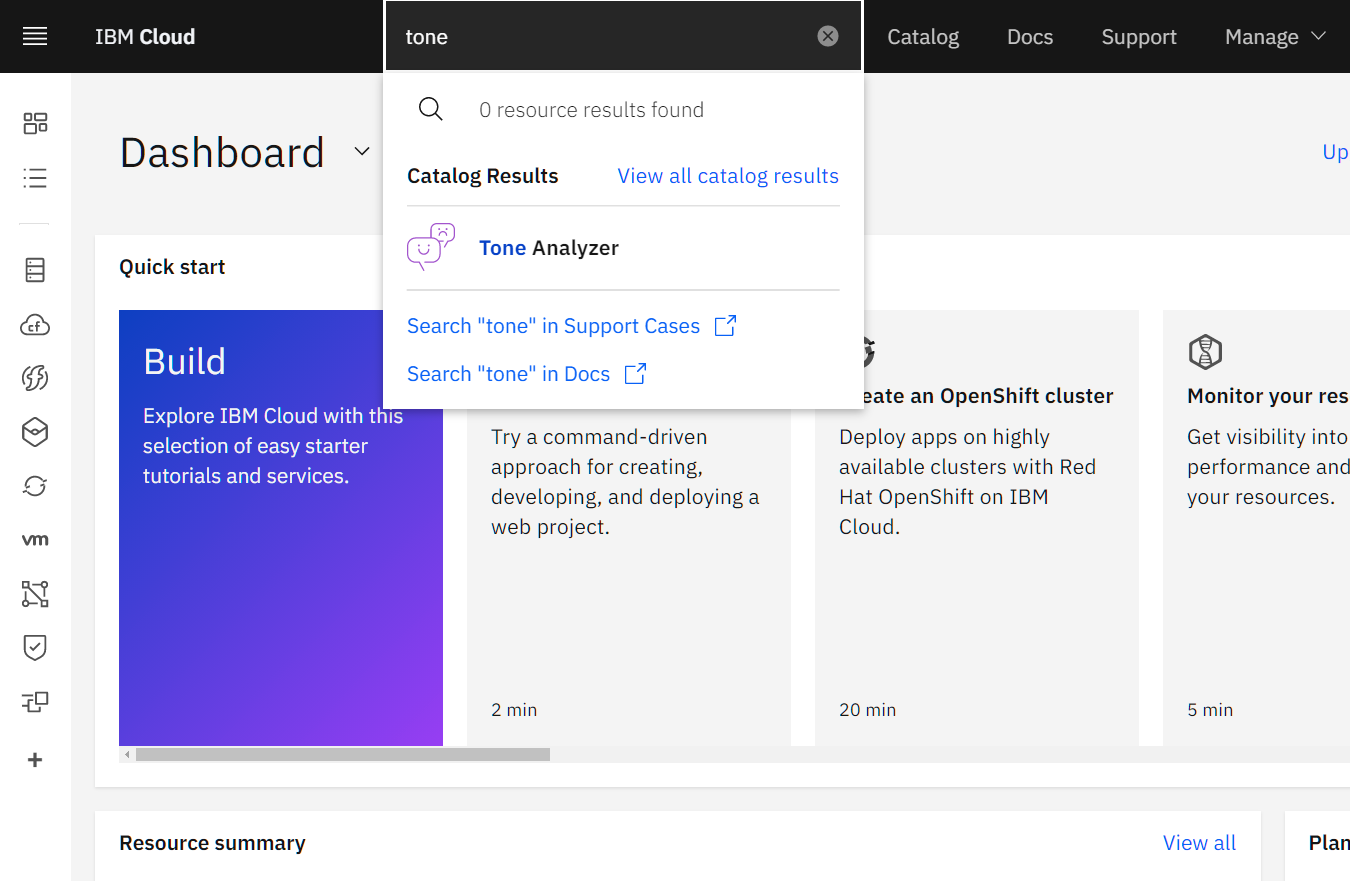
- Once everything boots up, search for tone and click Tone Analyzer.
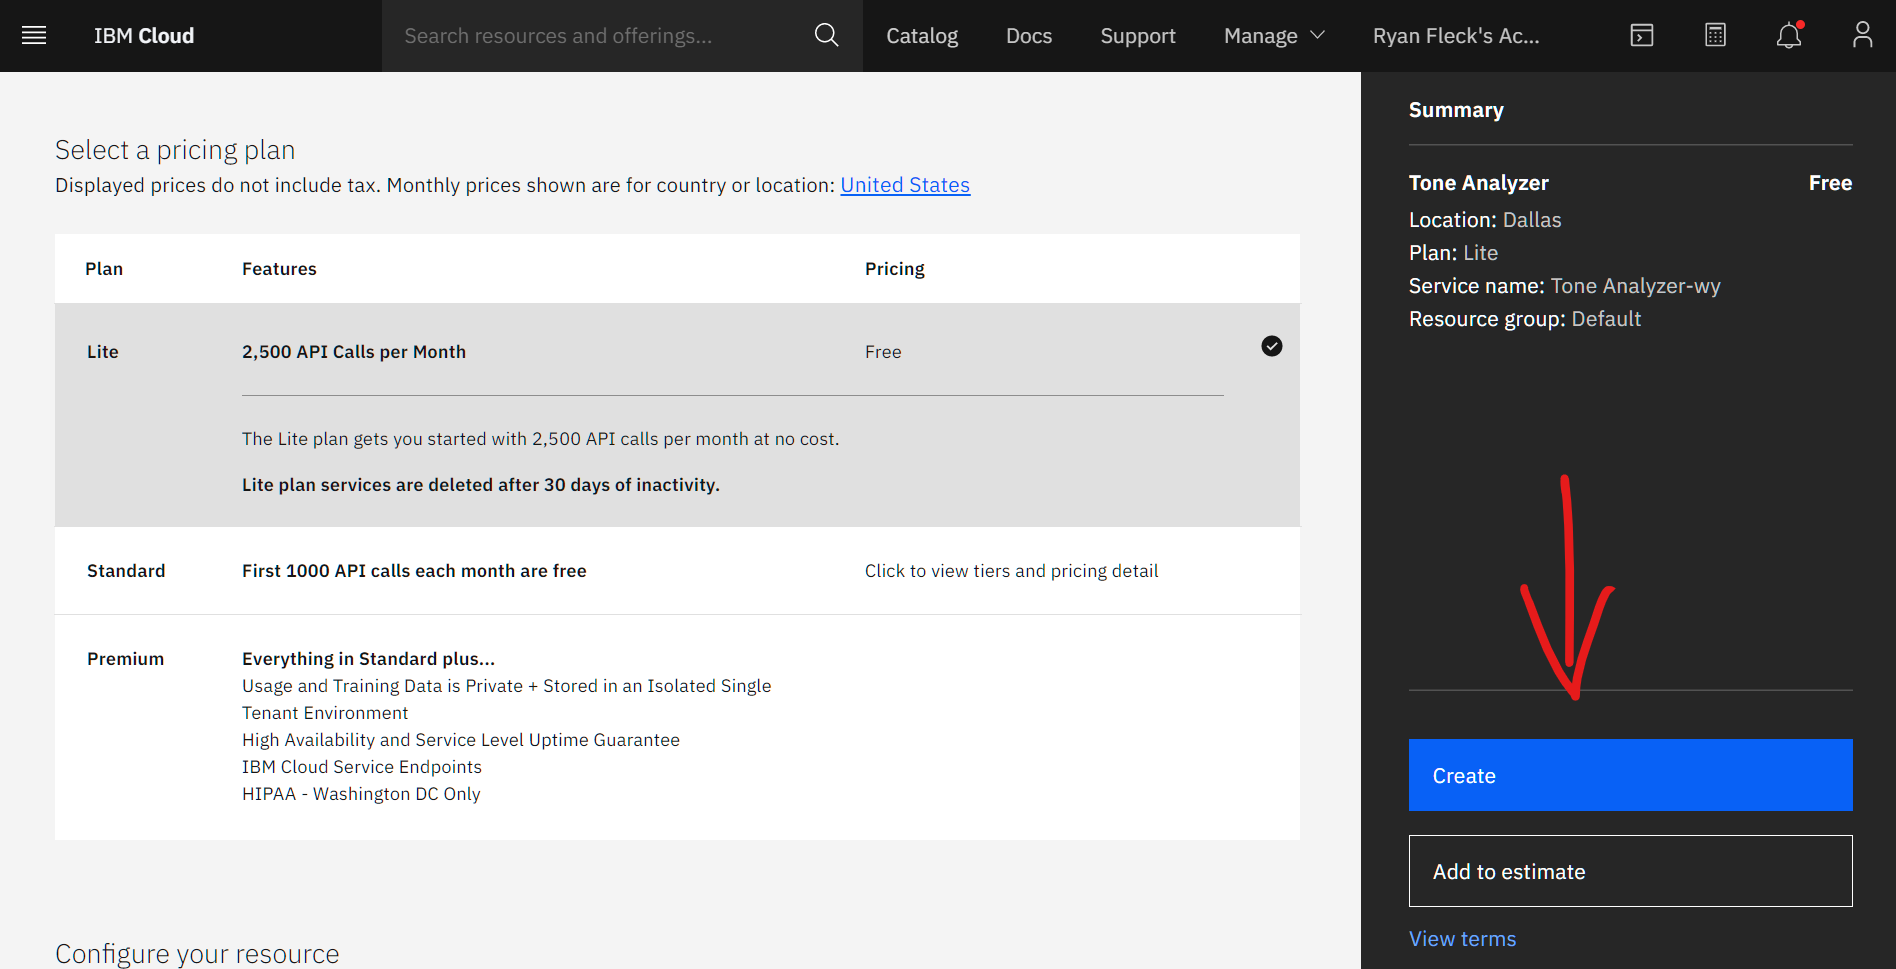
- Create the tone resource on the Lite tier, unless you want to pay.
- Nab your credentials from the Manage view.
These two strings (the API key and endpoint URL) should be guarded from everyone, as the API key is uniquely yours, and the endpoint URL may change between deployment environments. More on that later.
I’ve Got my API Keys, Now What?
Time to read some docs. You could dive into the API Documentation , or continue reading. If you’d like to follow along in a different language, at your own peril, the IBM documentation has a variety of client libraries and languages that it supports. For a quick guide to the endpoint, read on.
Start up a REPL.it Project
Make an account and create a new REPL
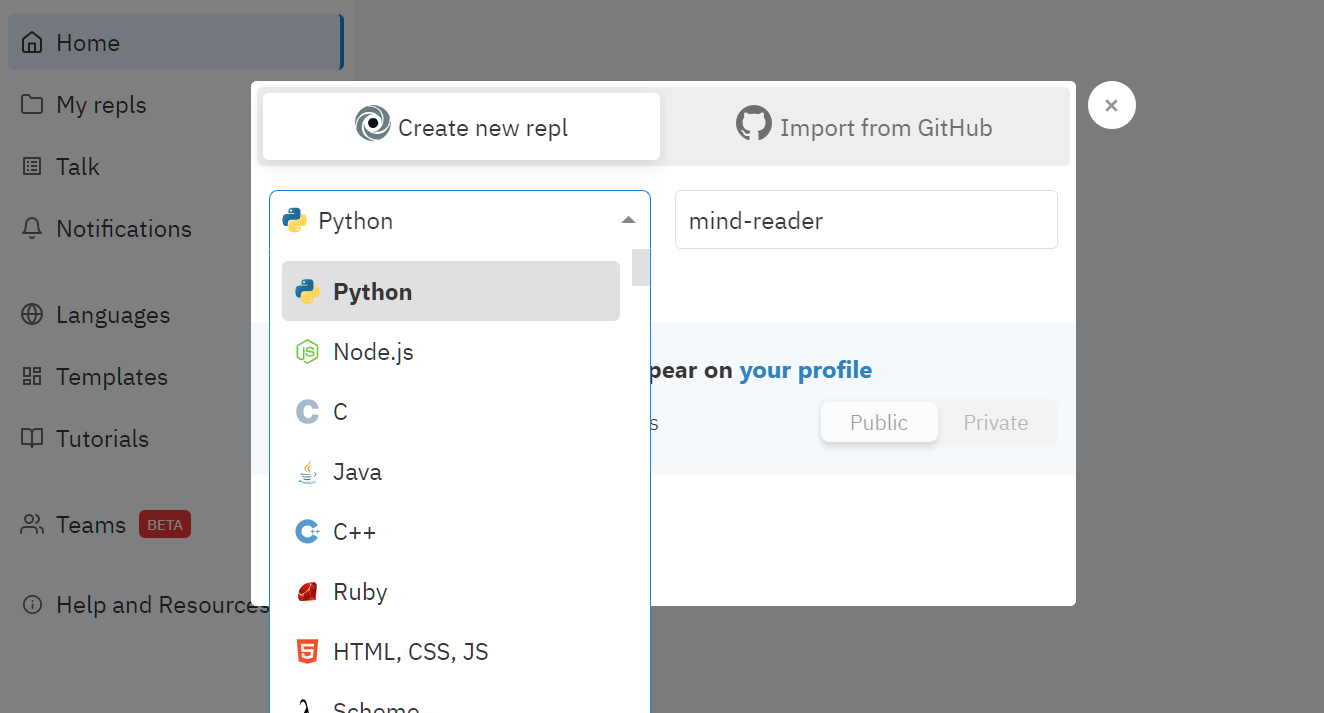
Make it a regular Python repl and name it something cool.
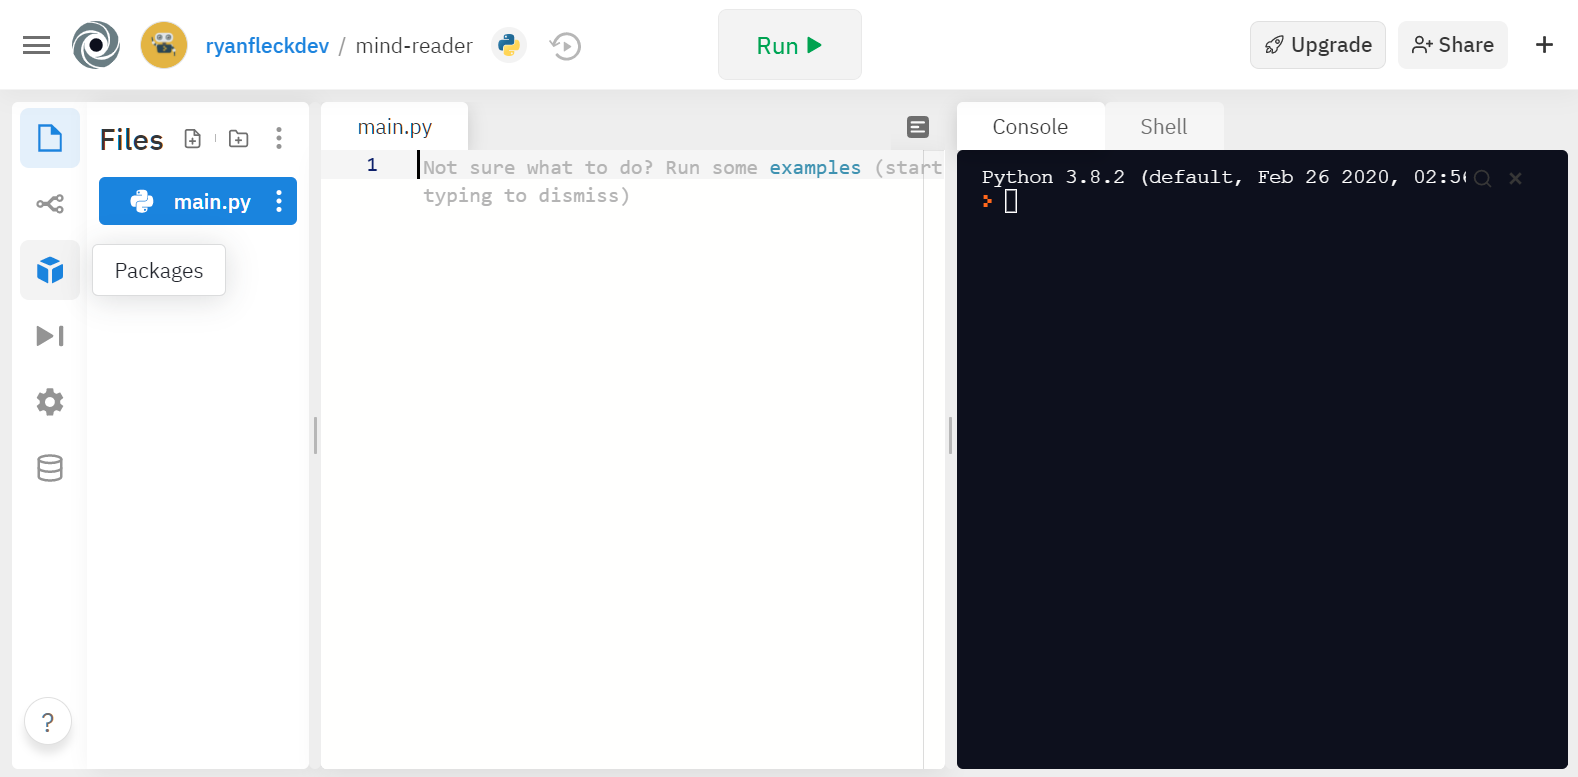
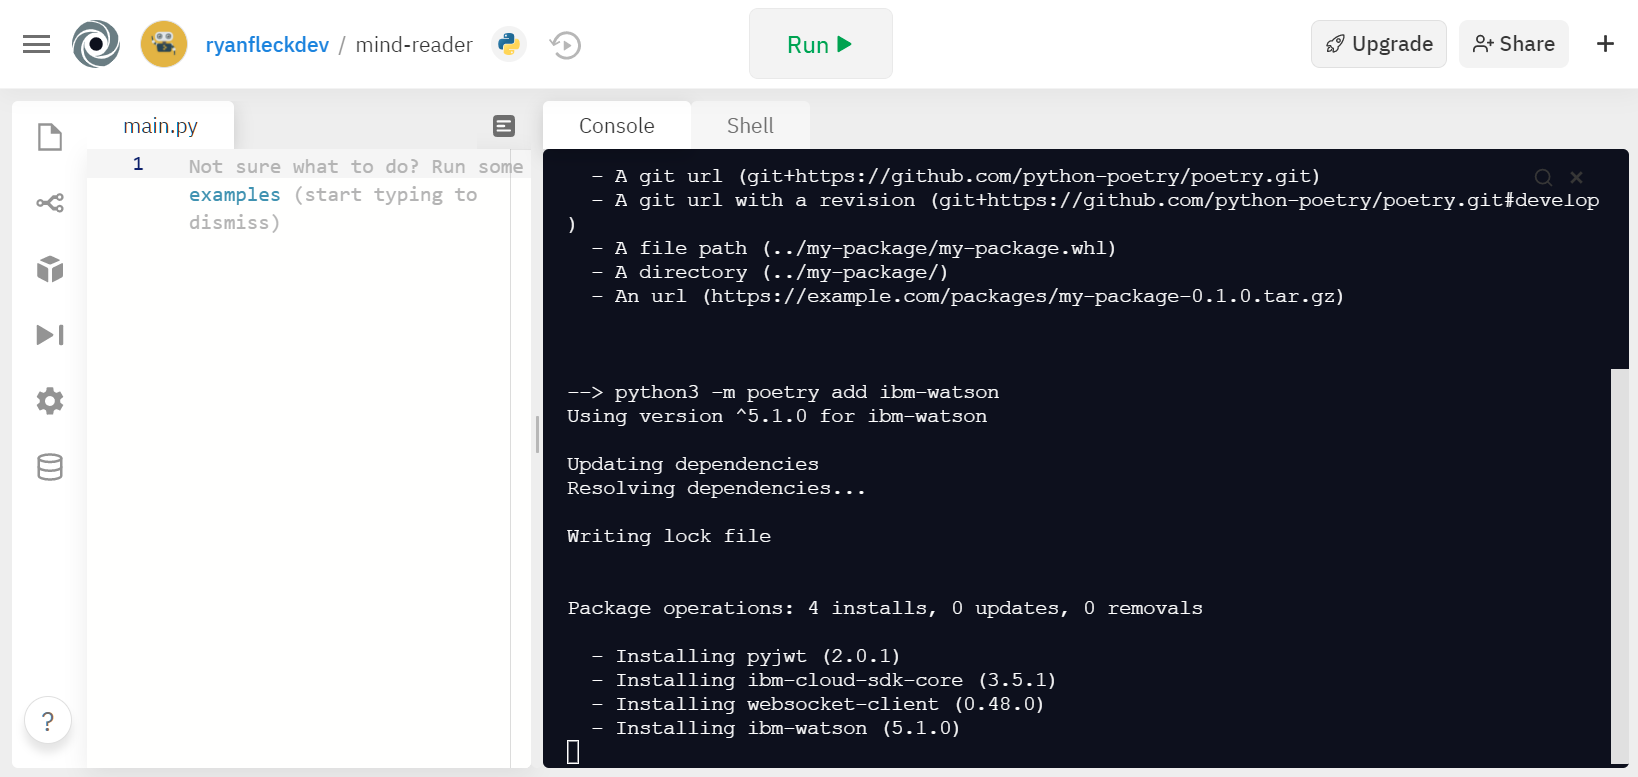
Add a package with this button on the left side:
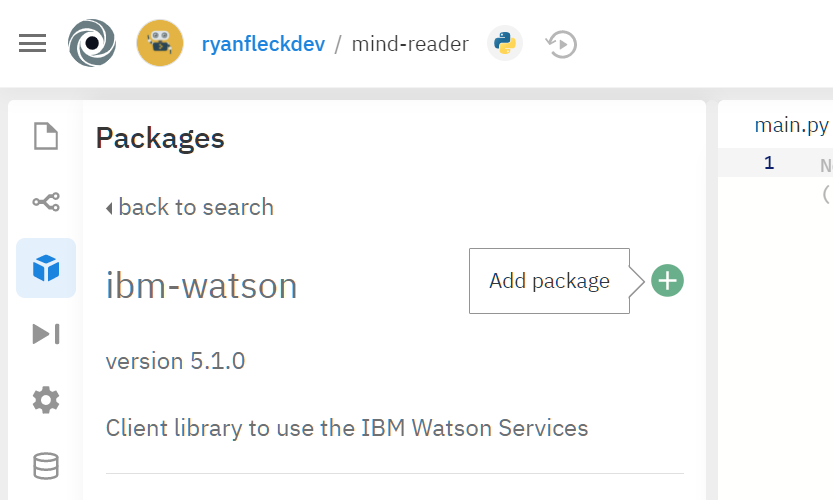
Search for “ibm-watson” and add it.
Wait for the installation to complete…
Bam. We’re ready to go!
Coffee Break
At this point, we’ll wait for everyone else to catch up. I’d recommend reading through https://github.com/public-apis/public-apis to find some interesting endpoints to call in your project. As soon as everyone has their API keys and Repl.it up and ready, we’ll continue with the workshop.
Storing our Secrets
Before we start writing any python code, create a new file named .env (yes,
that’s it, no extensions!) to hold your URL and API key. Inside, write this,
replacing my partial key and URL with your full API key and URL:
TONE_KEY=Nsvly...
TONE_URL=https://api.us-south.tone-an...
Make sure the caps and spacing are exact, or we won’t be able to get the environment variables. If you’re following along on a local copy of Python, you’ll need to use the dotenv package to load the contents of this file, or you can just keep ’em as strings.
Before the Magic, You’ve Gotta Authenticate!
Most APIs (or client libraries like the one we’re using now,) require you to identify yourself in order to limit the computing resources that each user can utilize.
Add or type these lines into your main.py file.
from ibm_watson import ToneAnalyzerV3
from ibm_cloud_sdk_core.authenticators import IAMAuthenticator
import os
Bring those environment variables we set into some python variables.
key:str = os.getenv("TONE_KEY")
url:str = os.getenv("TONE_URL")
Lastly, we can set up a new authenticator object to prepare to send API calls. You only need to do this once, so don’t repeat this every time you make a call.
authenticator = IAMAuthenticator(key)
tone_analyzer: ToneAnalyzerV3 = ToneAnalyzerV3(
    version='2017-09-21',
    authenticator=authenticator
    )

tone_analyzer.set_service_url(url
A Simple Call
Now, with the following python:
response = tone_analyzer.tone(
    "Perhaps, if I had made a different turn on life's winding paths all those"\
    "ages ago, I wouldn't have found myself in so fortunate a position. Now I"\
    "can smoke a thousand cigarettes a day, and they can't give me cancer due"\
    "to my mechanical lungs! Hahahahaha!"
    ).get_result()

print(response)
You can get a response from the API like this. I’ve truncated the sentences a bit in order to make it look a little cleaner here, but in real API responses from this endpoint, the full text will be returned.
{
  "document_tone": {
    "tones": [
      { "score": 0.664175, "tone_id": "tentative", "tone_name": "Tentative" },
      { "score": 0.771025, "tone_id": "analytical", "tone_name": "Analytical" }
    ]
  },
  "sentences_tone": [
    {
      "sentence_id": 0,
      "text": "Perhaps, if I had made a different turn on life's... ",
      "tones": [
        {
          "score": 0.589295,
          "tone_id": "analytical",
          "tone_name": "Analytical"
        }
      ]
    },
    {
      "sentence_id": 1,
      "text": "Now I can smoke a thousand cigarettes a day, and... ",
      "tones": [
        {
          "score": 0.599421,
          "tone_id": "analytical",
          "tone_name": "Analytical"
        }
      ]
    },
    {
      "sentence_id": 2,
      "text": "Hahahahaha!",
      "tones": []
    }
  ]
}
Notice that the data returned from the endpoint is in a dict, meaning we can sift through it and pull out neat info! For instance, to get the list of tones for the document, we can call the following (and we will in the next section.)
document_tones = res["document_tone"]["tones"]
A Simple Command-Line REPL
Add the following code to your file:
def analyze(text:str):
    print("Analyzing...  ", end="")
    res = tone_analyzer.tone(text).get_result()
    document_tones = res["document_tone"]["tones"]
    emotions = ", ".join(list(map(lambda x: x["tone_name"], document_tones)))
    if not emotions:
        emotions = "nothing."

    print(f"detected emotions: {emotions}")

while True:
  text = input("OwO >> ")
  analyze(text)
This will cause a little REPL to start itself when you run the REPL. It’ll return your input like this:
OwO >> It was so good to see you again and catch up; be?
Analyzing...  detected emotions: Joy
OwO >> AAAAAUGH! Why did you do that? Why on earth!? I'll kill you!!!!
Analyzing...  detected emotions: Anger
OwO >>
REPL.it: https://repl.it/@RyanFleck/tone-analysis-repl
Integration Into a Web App
Before we start, install the flask package from the package manager.
Replace the code in your main.py file with the following:
main.py
from ibm_watson import ToneAnalyzerV3
from ibm_cloud_sdk_core.authenticators import IAMAuthenticator
from flask import Flask, render_template, request
import os
import json
import random

# Get environment variables from '.env'
key = os.getenv("TONE_KEY")
url = os.getenv("TONE_URL")

# Set up the IBM Watson stuff
authenticator = IAMAuthenticator(key)
tone_analyzer: ToneAnalyzerV3 = ToneAnalyzerV3(version='2017-09-21',
                                               authenticator=authenticator)
tone_analyzer.set_service_url(url)

# Start the flask app.
app = Flask("journal", template_folder='templates')


@app.route('/')
def base_page():
    return render_template('base.html')


@app.route('/analyze', methods=['POST'])
def analyze():
    entry = request.form.get("journal-entry")
    res = tone_analyzer.tone(entry).get_result()
    document_tones = res["document_tone"]["tones"]
    emotions = ", ".join(list(map(lambda x: x["tone_name"], document_tones)))
    if not emotions:
        emotions = "nothing."

    data = {
        "entry": entry,
        "emotions": emotions,
        "data": json.dumps(res, indent=2),
    }
    return render_template('base.html', data=data)


# Start the flask site on the REPL.IT host 0.0.0.0
app.run(host='0.0.0.0', port=random.randint(2000, 9000))
Additionally, create a new folder called templates and create the html file
base.html within it. This template will be used by Flask to render some I/O
for our web users.
templates/base.html
<!doctype html>
<head>
	<meta charset="UTF-8" />
	<meta http-equiv="X-UA-Compatible" content="IE=edge" />
	<meta name="viewport" content="width=device-width, initial-scale=1,
    shrink-to-fit=no" />
</head>
<body>
	<h1>Tone Analyzer</h1>
	<form action="/analyze" method="post">
		<div>
			<textarea id="entry" name="journal-entry" required></textarea>
    </div>
    <div>
      <input id="submit" type="submit" value="I'm Done Writing" />
    </div>
  </form>
  {% if data %}
  <br />
  <h2>Analysis Results</h2>
  <p>Detected emotions: {{ data.emotions }}</p>
  <p>
  <i>"{{ data.entry }}"</i>
  <pre>{{data.data}}</pre>
  </p>
  {% endif %}
</body>
REPL.it: https://repl.it/@RyanFleck/tone-analysis-simple
Conclusions
Check out this mega list of APIs https://github.com/public-apis/public-apis and add some cool functionality to your project!
