Below is a set of personal notes written while taking a first look at the Elixir language and Phoenix 1.6.14 framework.
First Impressions
I’m placing this section first since the rest is mostly reference material to look back on. My first impressions of this framework, having completed some light reading and a tutorial, are very good.
If the promises pan out, implementing new projects in Elixir promises speed, safety, concurrency, and to dramatically reduce the complexity of deploying simple applications.
A microblog that would have previously required separate backend, frontend, and perhaps websocket-sync repositories can be crushed with a single codebase and far more automagic. I don’t think there is a developer on earth who wouldn’t be tempted by the proposition of more optional magic.
Phoenix goes far past simply querying the server or listening on a websocket for new objects, reducing the load on both the client and server by sending extremely minimal updates when needed.
Past here are mostly personal notes. Stay posted for more neat articles when I actually build and deploy things.
Elixir Basics
Types work intuitively, like in other languages
Function and operator names have two components: a name and the arity, for example:
++/2Lists are implemented as linked lists, and prepending is faster than appending
The head and tail of a list can be grabbed with
hdandtlfunctionsMaps are the key-value store, allow keys of any type, are defined with
%{}Hugo highlights Elixir syntax with
elixir,exs, orex
Installation and Bootstrapping Phoenix
Install Elixir.
Follow this install guide.
# Install or update hex to latest version
$ mix local.hex

# Install Phoenix app generator
$ mix archive.install hex phx_new

# Create a new Phoenix project 'hello'
$ mix phx.new hello
Spin up a postgres docker container.
$ docker pull postgres
$ docker run --name phoenix-hello -p 5432:5432 -e POSTGRES_PASSWORD=<***> -d postgres
To destroy the container and try again use this guide .
$ docker ps
CONTAINER ID   IMAGE      COMMAND                  CREATED          STATUS          PORTS                    NAMES
c7bc50139b5e   postgres   "docker-entrypoint.s…"   38 seconds ago   Up 36 seconds   0.0.0.0:5432->5432/tcp   phoenix-hello
Then follow this up and running guide to bootstrap a project and point it towards your development database.
Phoenix Project Structure
Read this article on Phoenix directory structure with good explanations for the tree below.
├── _build
├── assets
├── config
├── deps
├── lib
│   ├── hello
│   ├── hello.ex
│   ├── hello_web
│   └── hello_web.ex
├── priv
└── test
Tearing Apart a First Tutorial
Build a real-time Twitter clone in 15 minutes with LiveView and Phoenix 1.5
In your work directory, bootstrap a new project with liveview dependencies.
mix phx.new voidscream --live
cd voidscream
Generating a Liveview
Next, run a generator to create the ’tweet’ migration file, templates, liveviews, and so on.
Context from the Phoenix documentation:
The first argument is the context module. The context is an Elixir module that serves as an API boundary for the given resource. A context often holds many related resources. Therefore, if the context already exists, it will be augmented with functions for the given resource.
The second argument is the schema module. The schema is responsible for mapping the database fields into an Elixir struct.
The remaining arguments are the schema module plural name (used as the schema table name), and an optional list of attributes as their respective names and types. See mix help phx.gen.schema for more information on attributes.
# (All on one line, broken here for clarity)
mix phx.gen.live Timeline Post posts
  username body likes_count:integer reposts_count:integer
  reported_count:integer social_value:integer
The output is as follows:
* creating lib/voidscream_web/live/post_live/show.ex
* creating lib/voidscream_web/live/post_live/index.ex
* creating lib/voidscream_web/live/post_live/form_component.ex
* creating lib/voidscream_web/live/post_live/form_component.html.heex
* creating lib/voidscream_web/live/post_live/index.html.heex
* creating lib/voidscream_web/live/post_live/show.html.heex
* creating test/voidscream_web/live/post_live_test.exs
* creating lib/voidscream_web/live/live_helpers.ex
* creating lib/voidscream/timeline/post.ex
* creating priv/repo/migrations/20221117234818_create_posts.exs
* creating lib/voidscream/timeline.ex
* injecting lib/voidscream/timeline.ex
* creating test/voidscream/timeline_test.exs
* injecting test/voidscream/timeline_test.exs
* creating test/support/fixtures/timeline_fixtures.ex
* injecting test/support/fixtures/timeline_fixtures.ex
* injecting lib/voidscream_web.ex

Add the live routes to your browser scope in lib/voidscream_web/router.ex:

    live "/posts", PostLive.Index, :index
    live "/posts/new", PostLive.Index, :new
    live "/posts/:id/edit", PostLive.Index, :edit

    live "/posts/:id", PostLive.Show, :show
    live "/posts/:id/show/edit", PostLive.Show, :edit


Remember to update your repository by running migrations:

    $ mix ecto.migrate
The “router” is on line 17 in lib/voidscream_web/router.ex - add the routes under these two lines within this… function? Not sure what this scope thing is yet. Docs are here
.
  scope "/", VoidscreamWeb do
    pipe_through :browser
    #    <== Add the suggested lines here.
At this point, as the tutor suggests, you can run the server with mix phx.server, but not before spinning up a simple docker environment as suggested in the previous section and entering the password in config/dev.exs, followed by mix ecto.create to instantiate the database.
V@2:32
Next we cut down the fields in the form template in form_component.html.heex all the way down to one textarea and the submit button:
<div>
  <h2><%= @title %></h2>

  <.form
    let={f}
    for={@changeset}
    id="post-form"
    phx-target={@myself}
    phx-change="validate"
    phx-submit="save">

    <%= textarea f, :body %>
    <%= error_tag f, :body %>

    <div>
      <%= submit "Save", phx_disable_with: "Saving..." %>
    </div>
  </.form>
</div>
In timeline/post.ex, modify the schema to provide defaults and provide some validations. This Voidscream.Timeline.Post module uses the Ecto library to bind a database table to an elixir database structure.
schema "posts" do
  field :body, :string
  field :social_value, :integer, default: 0
  # ... set default 0 for all the other integers
  field :username, :string, default: "Test User"
A method below defines valid changesets.
  @doc false
  def changeset(post, attrs) do
    post
    |> cast(attrs, [:username, :body, :likes_count, :reposts_count, :reported_count, :social_value])
    |> validate_required([:username, :body, :likes_count, :reposts_count, :reported_count, :social_value])
  end
V@3:20
Remove everything but :body from the cast and validate required functions,
and add a length validator for the body field.
  @doc false
  def changeset(post, attrs) do
    post
    |> cast(attrs, [:body])
    |> validate_required([:body])
    |> validate_length(:body, min: 2, max: 250)
  end
…and be amazed as the websockets shuttle user input back to the server and provide an amazing developer experience. This blows the socks off React plus some API.
Syntax Coffee Break
…but what’s this weird notation with |> all about? It’s a pipe operator
and as the docs put it it’s a clean alternative to nesting.
foo(bar(baz(new_function(other_function()))))
In elixir, this semi-readable python becomes:
other_function() |> new_function() |> baz() |> bar() |> foo()
The pipe operator
|>passes the result of an expression as the first parameter of another expression.
The pipe takes the result on the left, and passes it to the right hand side.
Rendering with Live Components
V@4:53
By modifying live/post_live/index.html we can improve the tabular rendering by using what is essentially a web component in Phoenix.
Phoenix has improved since the video was made so the syntax here is slightly different than what is in the tutorial.
<div id="posts">
  <%= for post <- @posts do %>
    <%= live_component Voidscream.PostLive.PostComponent, id: post.id, post: post %>
  <% end %>
</div>
…Then start to write your web component. Again, the syntax is slightly updated.
V@6:20
defmodule Voidscream.PostLive.PostComponent do
  use VoidscreamWeb, :live_component

  def render(assigns) do
    ~H"""
    <div id={"post-#{@post.id}"} class="post">
      <!-- Rest of post markup -->
    </div>
    """
  end
end
…it took me a while to figure out the updated HEEx syntax.
…without all the fancy styling, I just continued with some braindead markup instead of spending time trying to style my posts exactly like a twitter feed.
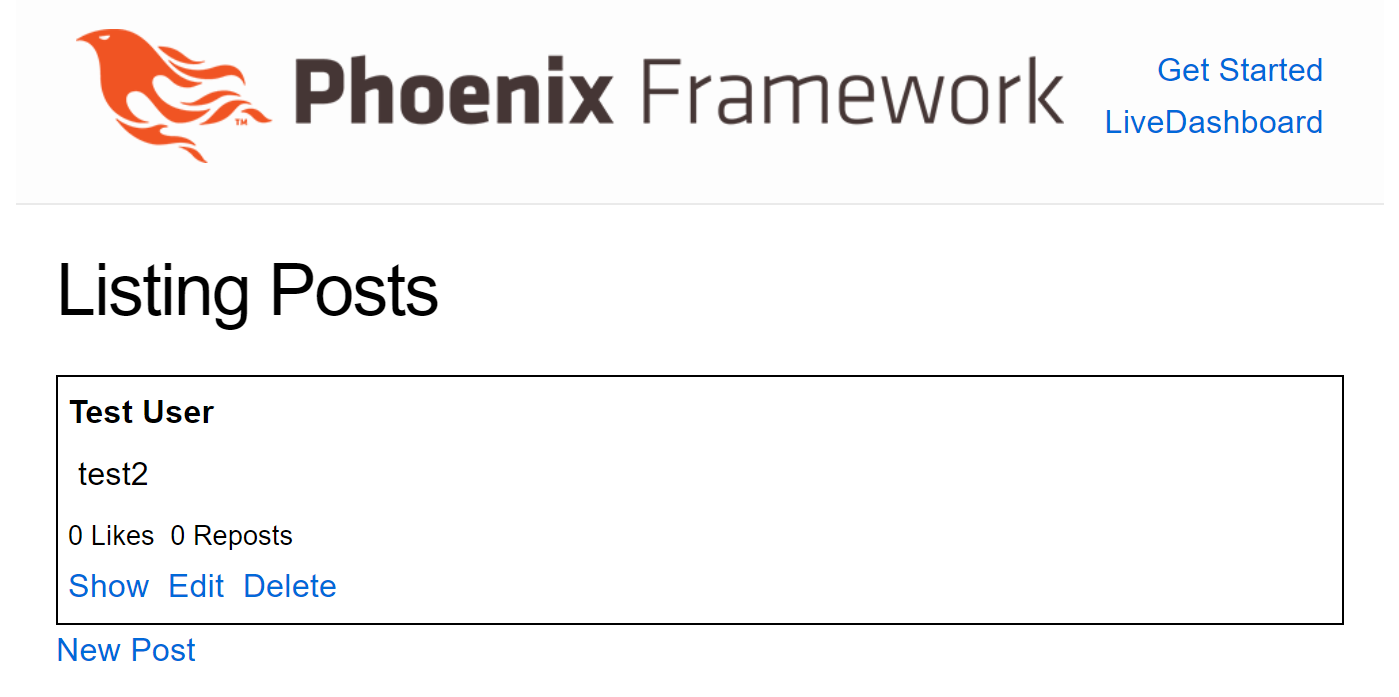
defmodule Voidscream.PostLive.PostComponent do
use VoidscreamWeb, :live_component
def render(assigns) do
~H"""
<div id={"post-#{@post.id}"} class="post" style="border:1px solid black; padding: 5px; margin-top: 5px;">
<div><b><%= @post.username %></b></div>
<div style="padding: 5px;"><%= @post.body %></div>
<div>
<small>
<%= @post.likes_count %> Likes
<%= @post.reposts_count %> Reposts
</small>
</div>
<span><%= live_redirect "Show", to: Routes.post_show_path(@socket, :show, @post) %> </span>
<span><%= live_patch "Edit", to: Routes.post_index_path(@socket, :edit, @post) %> </span>
<span><%= link "Delete", to: "#", phx_click: "delete", phx_value_id: @post.id, data: [confirm: "Are you sure?"] %> </span>
</div>
"""
end
end
In a React/Django environment, this would take many hours to complete. I’m already impressed, and we’re only V@7:00 seven minutes into the video tutorial. Ha.
Making it Realtime
V@7:30 back in voidscream/timeline.ex we can find all the backend logic for handling requests related to the timeline module and post objects.
def create_post(attrs \\ %{}) do
  %Post{}
  |> Post.changeset(attrs)
  |> Repo.insert()
  |> broadcast(:post_created)  # Add this broadcast
end
def update_post(%Post{} = post, attrs) do
  post
  |> Post.changeset(attrs)
  |> Repo.update()
  |> broadcast(:post_updated)  # Add this broadcast
end
Now, we define the broadcast functions V@8:02
defp broadcast({:error, _reason} = error, _event), do: error

defp broadcast({:ok, post}, event) do
  Phoenix.PubSub.broadcast(Voidscream.PubSub, "posts", {event, post})
  {:ok, post}
end
Now we allow users to subscribe to our broadcasted events:
def subscribe do
  Phoenix.PubSub.subscribe(Voidscream.PubSub, "posts")
end
On line 9 in index.ex add:
@impl true
def mount(_params, _session, socket) do
  if connected?(socket), do: Timeline.subscribe()  # add this
  {:ok, assign(socket, :posts, list_posts())}
end
Lower in the file, add a handle_info function:
@impl true
def handle_info({:post_created, post}, socket) do
  {:noreply, update(socket, :posts, fn posts -> [post | posts] end)}
end
This combination of additions will cause every liveview open to this page to update and prepend the new post to the list of posts when a new post is created.
V@10:42 This will work seamlessly over any load-balanced cluster because Phoenix PubSub is distributed with no additional dependencies.
Holy cow, easy peasy!
I’m going to stop following this tutorial here to start a full course and take notes on that. This high level tutorial is awesome but not giving me the deep understanding I need to start developing Phoenix apps.
To Continue?
Does it seem like Phoenix is worth investigating further? Yes.
Luckily my current employer has excellent learning resources, so I have access to a few courses on Elixir and Phoenix. This one was last updated in December 2022 and is taught by Stephen Grider.
I’m not going to lie to you, Elixir and Phoenix are both tough, I guarantee you they are unlike any other programming language and framework you’ve seen before.
Course repo: github.com/StephenGrider/ElixirCode
Focus #1 is to get a solid understanding of Elixir basics: how to write, test, and use the toolbox.
For deployment, check https://aswinmohan.me/phoenix-on-digitalocean