Ask yourself this - where is your data? Who owns it? Who uses it? If you’ve lived a typical digital life for the past few decades, your personal information is scattered everywhere. The majority is concentrated in the hands of a small set of megacorporations - Google, Amazon, Meta, Apple, Palantir, and Microsoft - all riddled with backdoors and spyware to ensure compliance and pro-social usage.
Thought crime charges are now an unfortunate reality, and can even be applied retroactively even decades later. Even if you are operating far within the boundaries set by law, your thoughts are your own, and ought not to be spied on or acted upon.
While the government storing and abusing your data is unavoidable, (not to mention sharing it with moral busybodies, consultants, and Palantir,) control can be wrenched back into your own hands. Run a home server, learn GNU/Linux, and regain your privacy and data autonomy today!
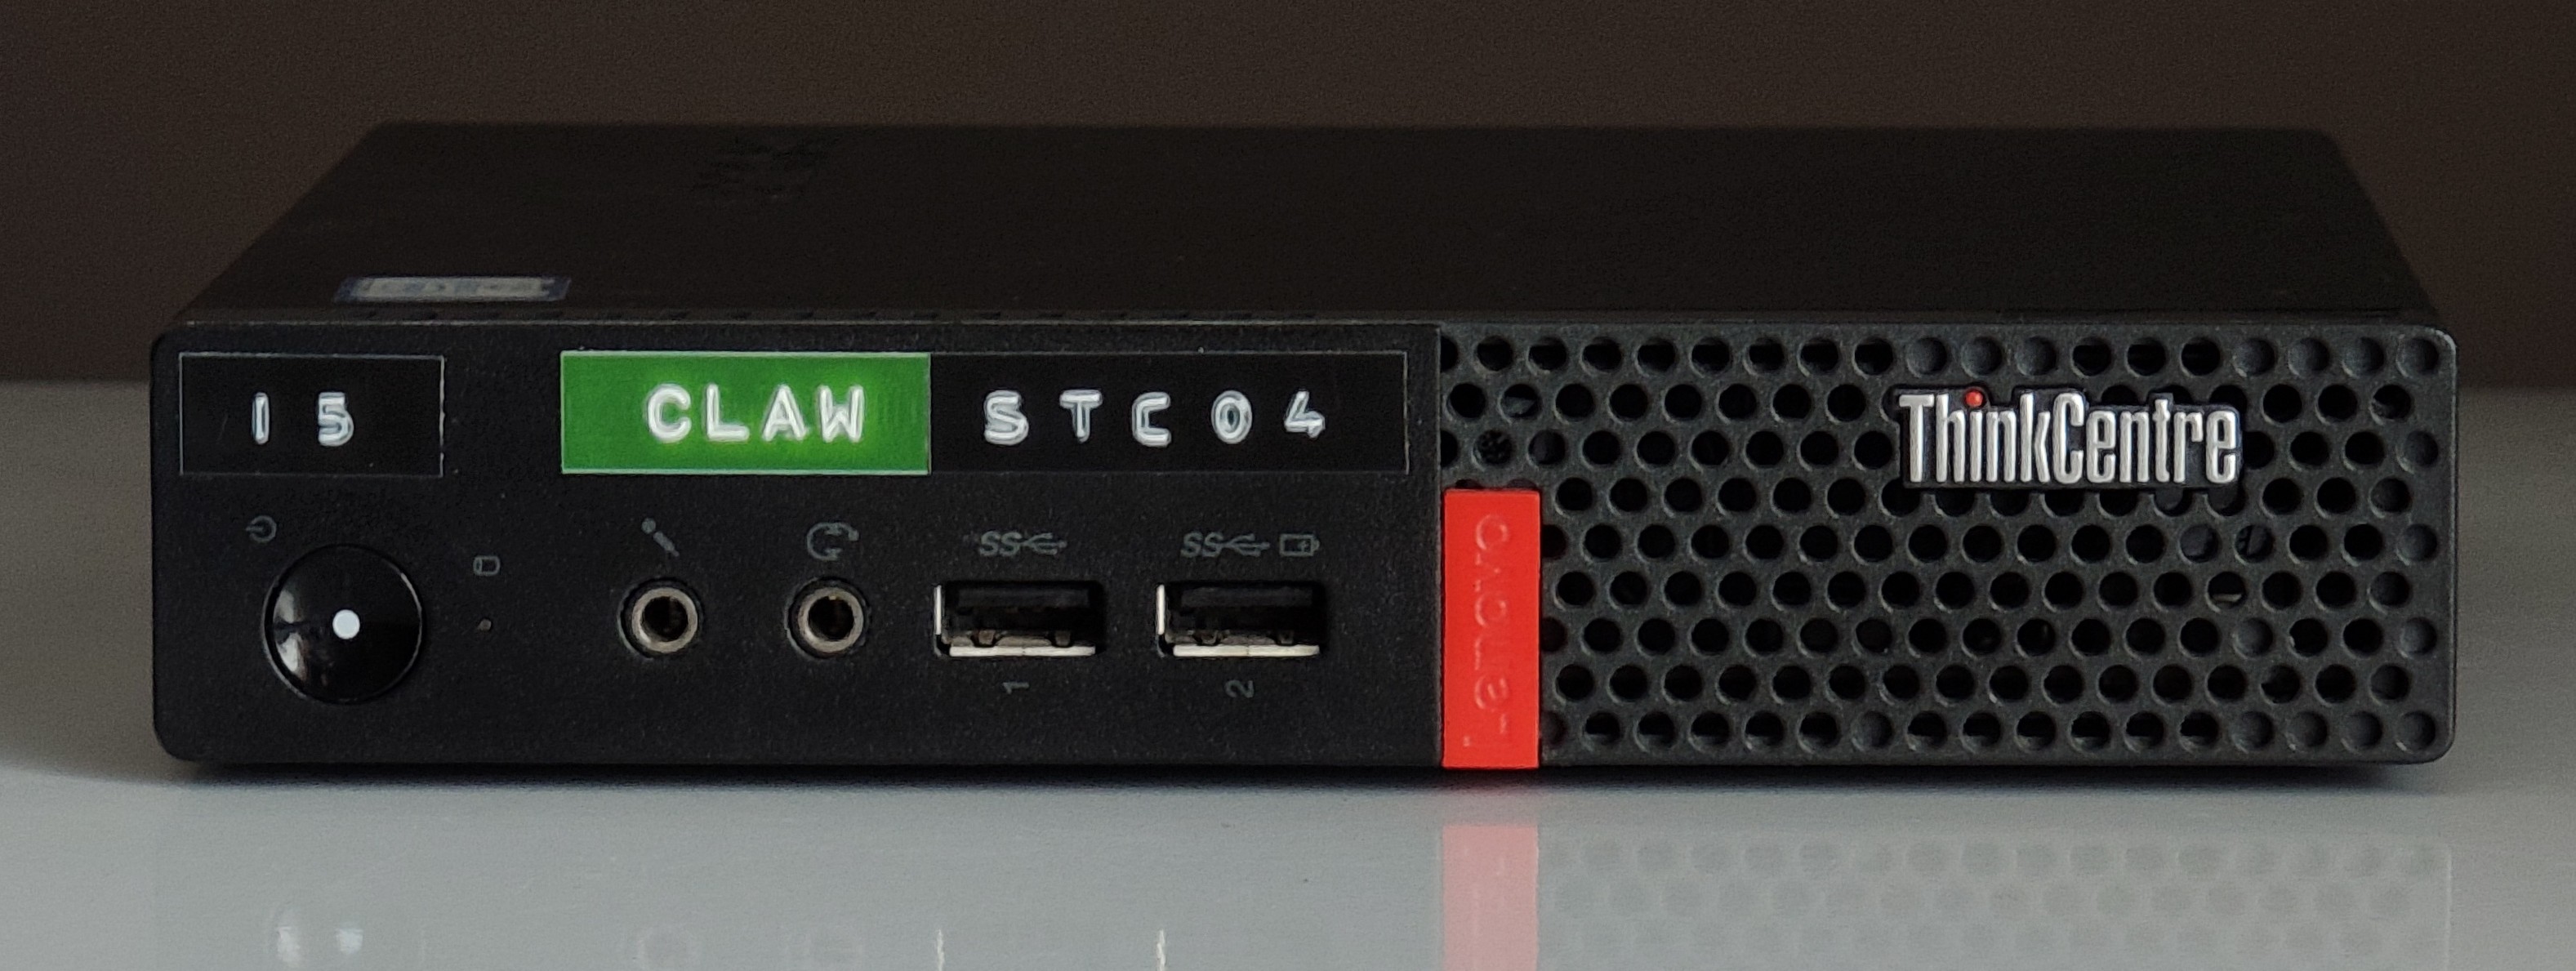
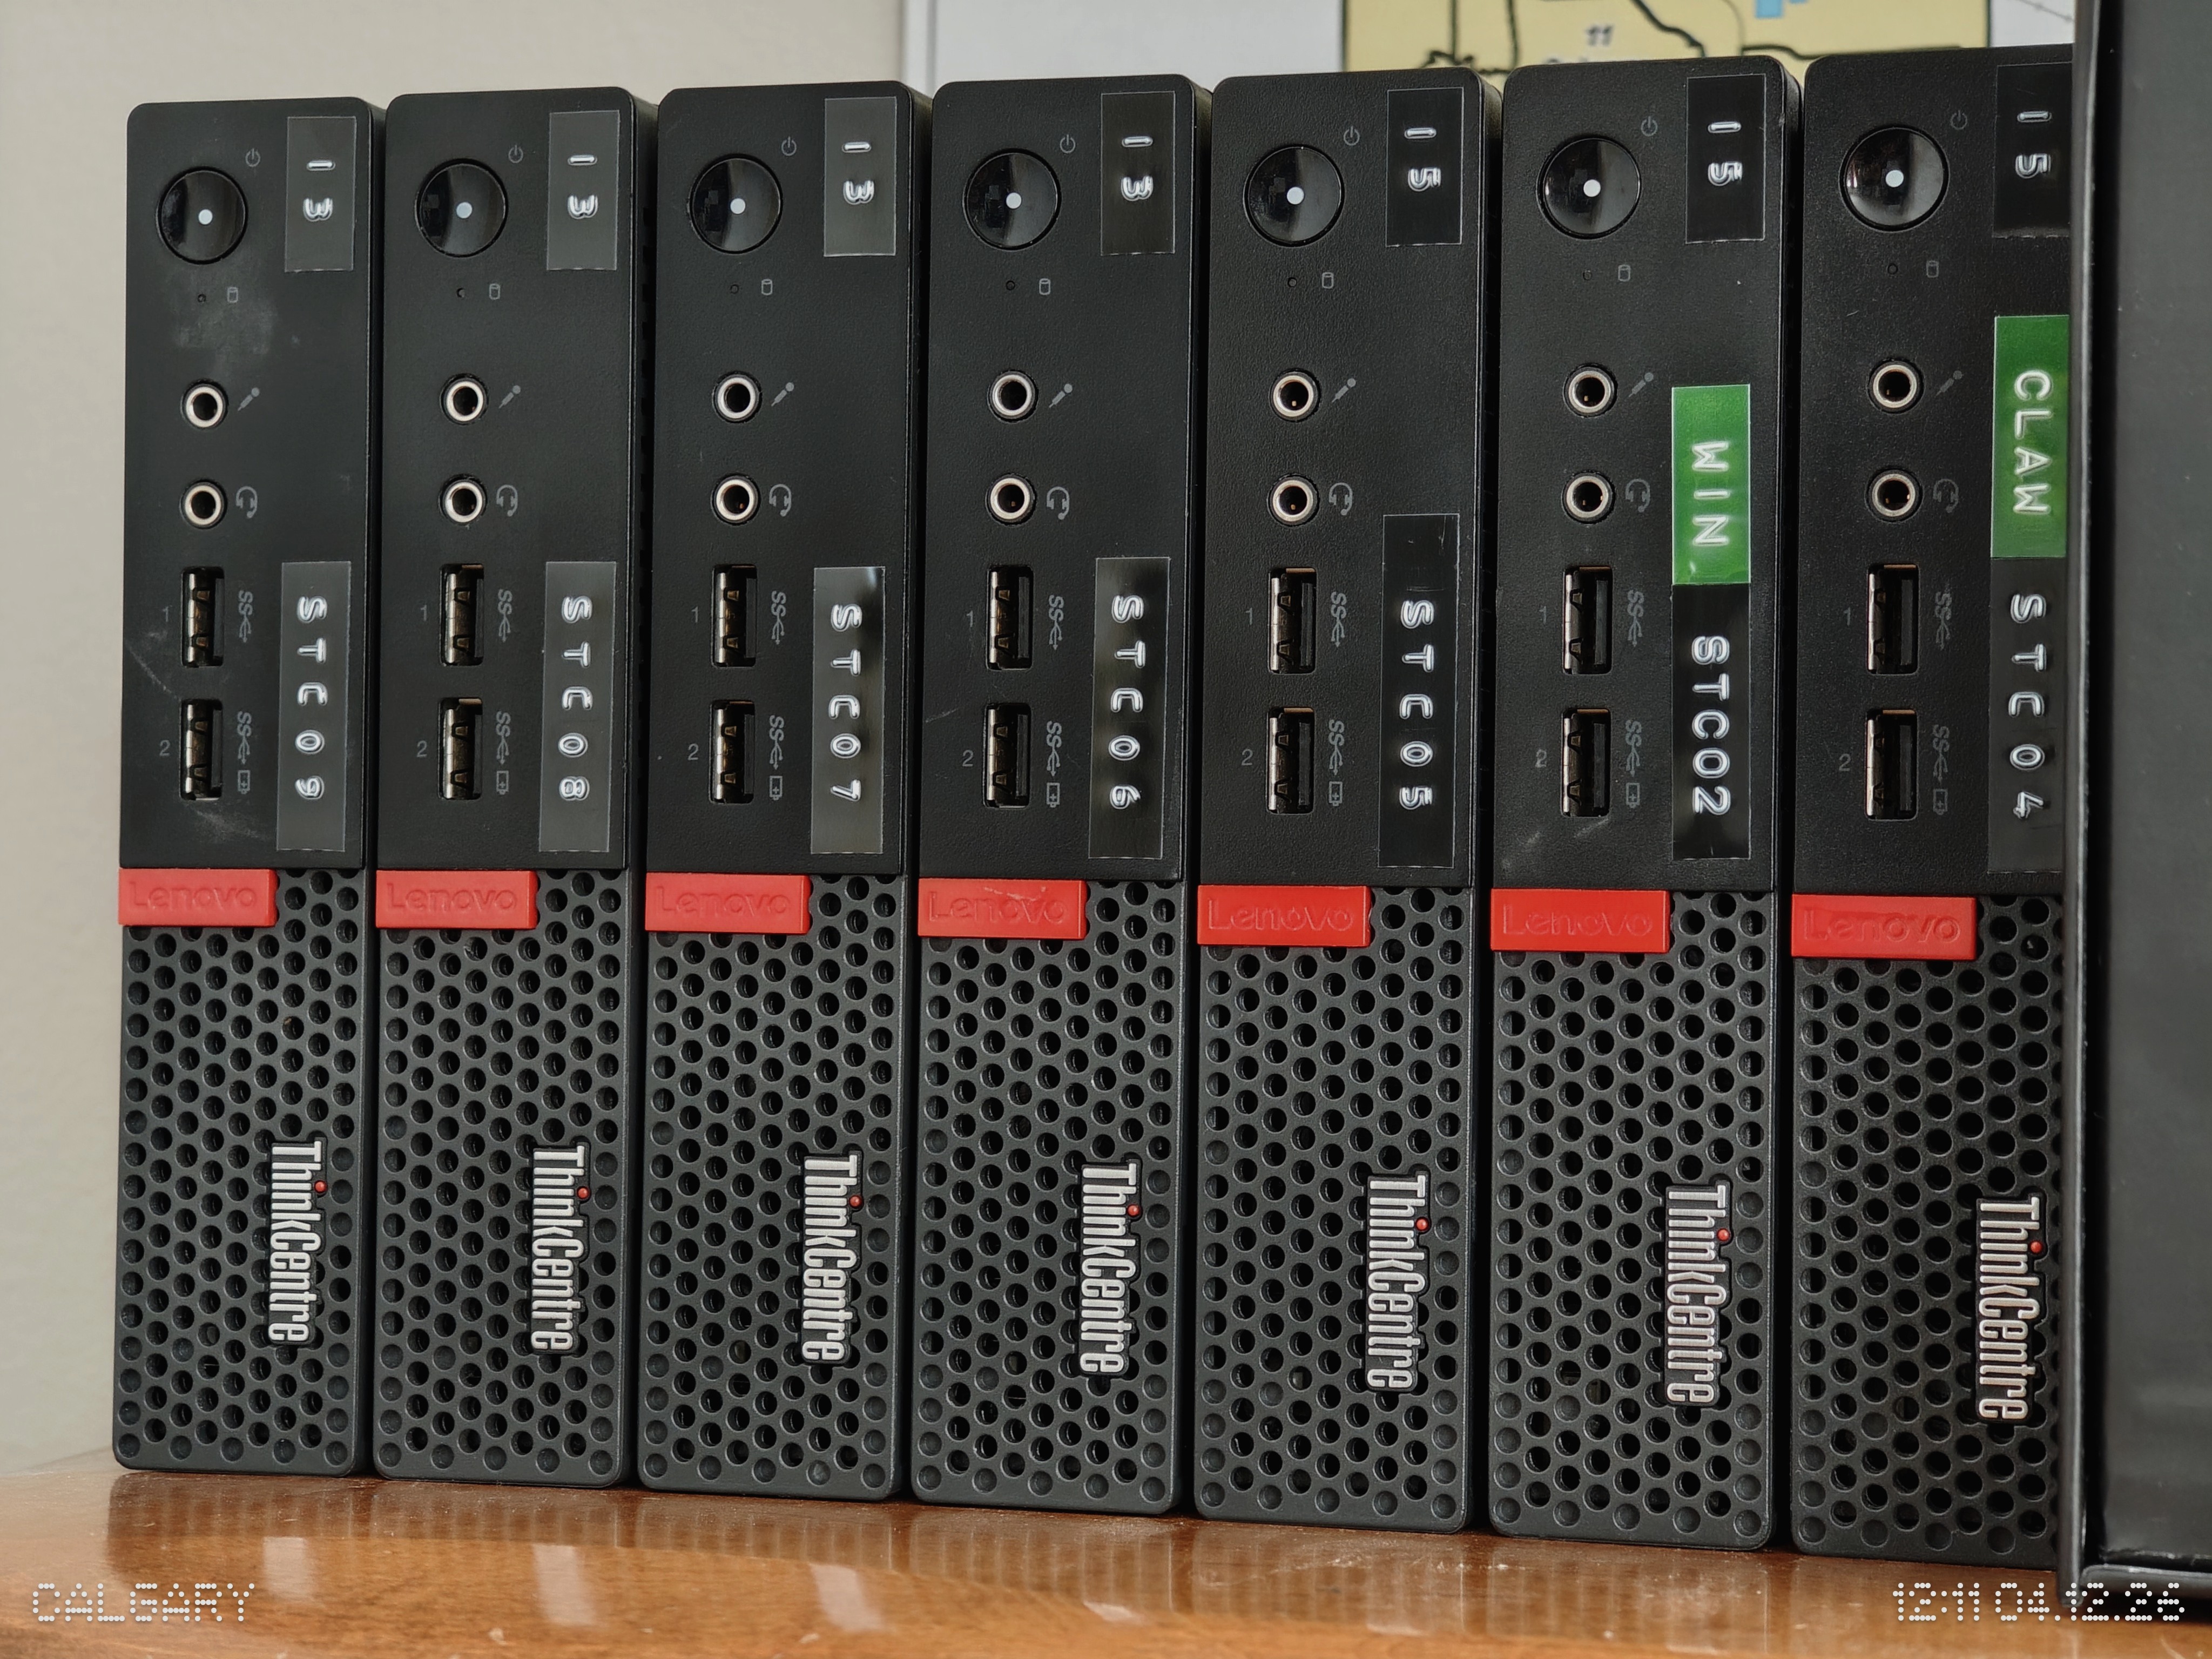
You’ll just need one or more of these cheerful little boxes:
A fantastic assortment of interesting tools lie waiting for you to use:
- Install SyncThing to sync your files between your laptops and phones
- Replicate WhatsApp/Telegram with an XMPP server
- Install OpenClaw to burn $200 in LLM tokens ordering $40 of Chinese food
- Your own
S3-like distributed object storage with Garage - Much more Awesome Self-Hosted stuff!
Great advocates of self-hosted freedom like LandChad.net serve to raise awareness about the fantastic number of services that are deployable by normal people.
Starting a website is something that can be done in a lazy afternoon and costs pocket change. Most of the internet’s problems could be solved if more people had their own personal platforms, so the objective of this site is to guide any normal person through the process of installing a website.
– Chad
This confident quip does understate the responsibility that comes with running a website. A glance over the Securing Debian manual will prove that quickly. Handling personal data and particularly the data of others should be taken seriously, and by reading and applying the techniques in this guide, you will solve three common security problems, those being:
- Preventing brute-force login attempts
- Countering physical intrusion with strong encryption
- Protecting your own IP with a reverse proxy1
Come along with me and set up your own encrypted data enclave!
Under Construction
This article is content-incomplete and up for review.
Acquire Hardware
The best system for a personal server is an old desktop computer. Ideally one you already have, or a cheap one - an office surplus machine with a mid-range processor2. Think in compute per watt: generally, a high-spec processor from 15 years ago will consume much more power per instruction than a mid-spec processor from five years later which can operate at the same speed.
A VPS from a vendor like DigitalOcean 3 or Vultr is also a good option, reducing the upfront cost to zero and providing a huge networking advantage (you don’t need to mess with your router or ISP’s “smart” home networking app to make it available on the web.) The disadvantage of a VPS is the cost. $6 a month for a shared core or two is the price of a sandwich4, and you’ll pay that much for power at home, but the system you can compose could easily be ten times more powerful and spacious (in terms of storage and memory.)
In this programmer’s opinion, the sweet spot in terms of cost, power efficiency, ownership, ease of acquisition, and quality would be a 5-10 year old Lenovo ThinkCentre or Dell Optiplex tower. In the age of crazy memory prices, many of these towers are priced only slightly higher than the memory contained within if the sticks were to be sold separately. Ensure the motherboard has a TPM2 module, which is crucial to protecting your data.
Ease of installation and driver support is also great for these machines. Smaller variants provide greater power efficiency and are easier to hide in a laundry room or near the router. Larger towers provide ample room for full-sized SATA hard drives for your large databases.
Best of all, these business towers can often be found at city/government auctions for cheap, and due to their reliability, often need very little work to be at their peak performance!
Install Debian
If you’ve provisioned a VPS, this step is done for you.
Otherwise, it’s time to grab the Debian DVD ISO and to burn it to a USB key (or even a real physical DVD, if you want to pretend it’s the mid-2000s.) If you’d like, you can compute the SHA512 checksum to verify the authenticity of the downloaded image.
The crucial part: Set up encrypted LVM on your primary drive.
Make a really long encryption passphrase and remember it5.
This is tough to fix afterwards and the installer makes it easy. Do not worry about encrypting your secondary storage drives now, this is something we will complete together later.
# Fully upgrade base packages and restart before continuing
> apt update
> apt full-upgrade
> reboot
For local machines install the following packages:
# Remote access via SSH and Multicast DNS packages:
> apt install openssh-server avahi-daemon avahi-utils
…and reboot. Your machine will now be accessible on your home network, and can be accessed without knowing the precise IP address like so:
# Remote-login to your server:
> ssh -C <your-user>@<hostname>.local

# If you have forgotten the hostname run:
> hostname
Alternatively, Alpine Linux
I have enjoyed stable performance from Alpine Linux for about a
decade, and it offers some security perks over Debian. One of my
systems has been running a rolling alpine install for many years,
making the jump from 3.14 to 3.21 with ease,
though a Postgres install broke during that time. See this note on using latest-stable Alpine release
with the apk package manager.
# The /etc/apk/repositories file should appear as follows:
# Contents of /etc/apk/repositories
http://dl-3.alpinelinux.org/alpine/latest-stable/main
http://dl-3.alpinelinux.org/alpine/latest-stable/community
Why Alpine? It has a drastically reduced attack surface and uses
the musl C compiler, leaving far fewer entry points and
vulnerabilities. It’s a great alternative to Debian, which itself is a
mature and stable foundation for software deployment.
Sudo & Password Rotation
It’s a simple fix, but obvious - make sure you have a long, hard password.
Sudo allows you to run elevated commands while logged in as yourself.
# Install "sudo" and add your user
# As root:
> apt install sudo
> usermod -aG sudo <your-username>
> reboot

# You'll need it rarely, so set a very long root password
# As root:
> su -
> passwd

# Improve your security with a long & random password
# As yourself:
> passwd
You’ll be able to (mostly) forget this password once we set up SSH keys.
Basic SSH Security
Before touching or configuring anything else, securing initial access to your server is critical to preventing all your work from being wasted by a bot who guessed that your root password was “password” and was immediately able to steal your environment, crypto, etc.
Generate a SSH key with these steps.
After logging in to your server touch ~/.ssh/authorized_keys and use
your editor of choice to append your public key to the file.
# Edit "~/.ssh/authorized_keys" and add your RSA public key and a note:

# <Your Laptop's Name>
ssh-rsa 8Eq1jcBqaiIt7XwiVnTlZfE1W1k7Kg7I...
Prevent the root user from logging in via SSH.
# Edit "/etc/ssh/sshd_config" and change:
# Disable root login over SSH
PermitRootLogin no

# Disable password auth, or make your password much
# longer and tougher to guess with the "passwd" command
PasswordAuthentication no

# Disable Pluggable Authentication
UsePAM no

# Apply the changes
> systemctl restart sshd
Install fail2ban to limit brute-force attacks.
> apt install fail2ban
> cp /etc/fail2ban/jail.conf /etc/fail2ban/jail.local

# Edit "/etc/fail2ban/jail.local" if changes need to be made, then apply:
> systemctl restart fail2ban

# Check the status
> fail2ban-client status
Status
|- Number of jail:      1
`- Jail list:   sshd

# To un-ban an IP
fail2ban-client set sshd unbanip <ip-address>
Further reading: “How To Secure Your New VPS”
Automatic Decryption with TPM2
Full-disk encryption should be your data security baseline.6 Defense in depth should be applied to all of your personal electronics, and even your home equipment could be stolen. Encryption prevents the leaking of sensitive data in the event a device is taken.
This said, nobody wants to type a long decryption key with every boot!
Particulary for servers, which are unattended - this is where the TPM module comes in handy. It can store an additional key allowing the disk to be decrypted at boot, providing reasonable tamper-resistant protection. I used this guide primarily when setting mine up. dracut is a key tool/package to leverage.
The following steps are required for both methods. Choose one to your liking.
- Add the corresponding dracut module so support is available in the initramfs at boot
- Enroll / bind a LUKS secret slot tied to either the TPM2 or the FIDO key
- Update /etc/crypttab with the new configuration
- Rebuild the initramfs to apply the changes
It is important to run dracut last to not only include new dependencies but also your updated crypttab in the initramfs.
# Install TPM tools and check for disk
> apt install tpm2-tools parted dracut

> systemd-cryptenroll --tpm2-device=list
# PATH         DEVICE      DRIVER
  /dev/tpmrm0  NTC0702:00  tpm_tis

# Check devices
> lsblk
NAME                 MAJ:MIN RM   SIZE RO TYPE  MOUNTPOINTS
nvme0n1              259:0    0 119.2G  0 disk
├─nvme0n1p1          259:1    0   976M  0 part  /boot/efi
├─nvme0n1p2          259:2    0   977M  0 part  /boot
└─nvme0n1p3          259:3    0 117.3G  0 part
  └─nvme0n1p3_crypt  254:0    0 117.3G  0 crypt
    ├─P04--vg-root   254:1    0 113.5G  0 lvm   /
    └─P04--vg-swap_1 254:2    0   3.8G  0 lvm   [SWAP]

# EXAMPLE (The device is nvme0n1p3)
> systemd-cryptenroll --tpm2-device=auto --tpm2-pcrs=0+7 /dev/nvme0n1p3

# Use "dracut" to automatically use tpm2 to unlock your encrypted drives
# Edit /etc/dracut.conf.d/tpm.conf and add this line:
add_dracutmodules+=" tpm2-tss crypt "

# Important: Disable Systemd crypttab
# Prevent double-initialization of the drive
# Comment out this line in /etc/crypttab:
nvme0n1p3_crypt UUID=****-****-**** none luks,discard

# Edit /etc/default/grub and modify this line, adding the arguments:
GRUB_CMDLINE_LINUX="rd.auto rd.luks=1"

# Apply Changes (Crucial)
> dracut -f
> update-grub
> reboot

# Ensure everything is working fine and no errors are raised
> journalctl -b | grep cryptsetup
Resources:
- https://www.jwiltshire.org.uk/2025/01/07/using-tpm-for-automatic-disk-decryption-in-debian-12/
- https://bugs.launchpad.net/ubuntu/+source/systemd/+bug/2001556
- https://blog.fernvenue.com/archives/debian-with-luks-and-tpm-auto-decryption/
- https://community.frame.work/t/guide-setup-tpm2-autodecrypt/39005
- https://fedoramagazine.org/use-systemd-cryptenroll-with-fido-u2f-or-tpm2-to-decrypt-your-disk/
- https://uapi-group.org/specifications/specs/linux_tpm_pcr_registry/
Encrypt Additional Drives
After attaching the drives
# Identify the new/target hard disk
> lsblk
NAME                                          MAJ:MIN RM   SIZE RO TYPE  MOUNTPOINTS
sda                                             8:0    0   3.6T  0 disk
└─sda1                                          8:1    0   3.6T  0 part
nvme0n1                                       259:0    0 476.9G  0 disk
├─nvme0n1p1                                   259:1    0   976M  0 part  /boot/efi
├─nvme0n1p2                                   259:2    0   977M  0 part  /boot
└─nvme0n1p3                                   259:3    0   475G  0 part
  └─luks-0e70ec89-c8e3-433c-bbce-f5b095124e27 254:0    0   475G  0 crypt
    ├─STC01--vg-root                          254:1    0 459.1G  0 lvm   /
    └─STC01--vg-swap_1                        254:2    0  15.8G  0 lvm   [SWAP]

# Check current partitions on SDA
> parted -s /dev/sda print all
Model: ATA WDC WD4003FZEX-0 (scsi)
Disk /dev/sda: 4001GB
Sector size (logical/physical): 512B/4096B
Partition Table: gpt
Disk Flags:

Number  Start   End     Size    File system  Name               Flags
 1      1049kB  4001GB  4001GB  ext4         WD Black 4TB Data
 #                      ^^ It's one big EXT4 partition
We’ll start from scratch assuming there is data on the drive to be cleared.
WARNING: The following commands will cause irreversible data loss.
# Erase the partition table
sfdisk --delete /dev/sda

# Set up a GPT partition table
parted -s /dev/sda mklabel gpt
parted -s /dev/sda mkpart primary 0% 100%

# Encrypt the drive with LUKS
cryptsetup luksFormat /dev/sda1

# Open the encrypted drive
cryptsetup open /dev/sda1 data1
ls /dev/mapper

# Make a filesystem on the drive with label "data"
mkfs.ext4 -L data /dev/mapper/data1

# Mount the drive to "/data"
mkdir -p /data
mount /dev/mapper/data1 /data

# Create a Read/Write/Execute superuser group "data-rwx" for the disk
groupadd data-rwx
usermod -aG data-rwx r  # add yourself
getent group data-rwx   # check the group

# Change ownership and permissions
chgrp -R data-rwx /data
chmod -R g+rwx /data
chmod g+s /data        # ensure future files use this group

> systemd-cryptenroll --tpm2-device=auto --tpm2-pcrs=0+7 /dev/sda1
# ...new TPM2 token enrolled as key slot 1.

# Apply these changes
dracut -f
update grub
reboot

# Check the UUID of your disk
> blkid
# "blkid" output with mapped name, uuid, label, etc.:
  /dev/mapper/luks-799aee84-106f-47f3-801c-d1ce58224d0f: LABEL="data"
    UUID="207d11ba-ec71-483a-9f52-13af040c3b60" BLOCK_SIZE="4096" TYPE="ext4"

# Ensure the drive is mounted when the system starts
# Edit "/etc/fstab" and add this line
UUID=207d11ba-ec71-483a-9f52-13af040c3b60  /data  ext4  defaults,noatime,nofail  0  2

# You can also add this to the options, but it may be better to fail visibly:
errors=remount-ro

# Reload Systemd to apply the filesystem tab and check the mount point:
> systemctl daemon-reexec
> findmnt /data
TARGET SOURCE                                                FSTYPE OPTIONS
/data  /dev/mapper/luks-799aee84-106f-47f3-801c-d1ce58224d0f ext4   rw,noatime

# Apply Changes & Reboot
> dracut -f
> update-grub
> reboot

# Ensure everything is working fine and no errors are raised
> journalctl -b | grep cryptsetup
Resources:
- https://forums.debian.net/viewtopic.php?t=138035
- https://medium.com/@allypetitt/how-to-encrypt-a-drive-in-linux-83b3001744f4
- https://opensource.com/article/21/3/encryption-luks
Unattended Upgrades
# Install the package & service
> apt install unattended-upgrades

# Edit "/etc/apt/apt.conf.d/50unattended-upgrades"
# Uncomment & make the following changes:
Unattended-Upgrade::Automatic-Reboot "true";
Unattended-Upgrade::Automatic-Reboot-Time "<the best time for you in HH:MM format>";
UFW Firewall
# Install and temporarily stop the firewall
> apt install ufw
> ufw disable

# List available services
> ufw app list

# Allow OpenSSH and all outgoing connections
> ufw allow OpenSSH
> ufw default deny incoming
> ufw default allow outgoing
> ufw allow 'Nginx Full'
> ufw enable

# Check the status
> ufw status verbose
Nmap Scanning Your Server
For fun, you can use Nmap to check your server for weak points.
You’ll need to use an external machine to perform this task.
# Pick a target, ensure your server is up:
> ping <server-hostname>.local
> ping <your server's IP address>

# Run NMap scripts to check for vulnerabilities
> sudo nmap -sV --script "vuln" <your-server-address>
Further reading: “Vulnerability Scanning with Nmap”
Connecting To Your Server
For a VPS, you can add your ipV4 address in your DNS control panel,
and the work is done! You can proceed to setup NGinx and web services.
For a home server, a choice must be made, and all three paths have compromises:
- Use DDNS to keep your domain name pointed towards your home IP address, best if you are cheap and are only using this personally and deploying services for friends. Directly exposes your IP.
- Proxy your traffic through Cloudflare and gain DDOS protection and a strong security layer, at the cost of having your packets decrypted and scanned, best overall option.
- Pay or beg your ISP for a static IP address, which could be the most expensive option, but is certainly the best if
- TailScale funnel7 or Cloudflare tunnels8 are a convenient option but require a client to be installed, a potential point of compromise and a direct intrusion into your secure enclave.
This choice is largely dependent on the number of users you are planning to have. Option two, particularly with Cloudflare tunnels, is also highly convenient.
Dynamic DNS
The bare-metal approach to networking is to convince your ISP to give you a static IP (typically reserved for business-tier networking) or to use a dynamic DNS service to keep your DNS correctly set to your home IP address. You’ll need to fiddle with port forwarding too.
https://noip.com/ offers a Docker container to continuously ensure your dynamic IP is correctly set at the DNS level.
Cloudflare Tunnel
Cloudflare’s core business model is providing DDOS protection and monitoring traffic for enterprise customers.
Though this method is not my favorite security-wise, it is extremely resilient.
# For 64-bit Debian Machines:
# Add cloudflare gpg key
sudo mkdir -p --mode=0755 /usr/share/keyrings
curl -fsSL https://pkg.cloudflare.com/cloudflare-main.gpg | sudo tee /usr/share/keyrings/cloudflare-main.gpg >/dev/null

# Add this repo to your apt repositories
echo 'deb [signed-by=/usr/share/keyrings/cloudflare-main.gpg] https://pkg.cloudflare.com/cloudflared any main' | sudo tee /etc/apt/sources.list.d/cloudflared.list

# Install "cloudflared"
sudo apt-get update && sudo apt-get install cloudflared

# Set up "cloudflared" service
sudo cloudflared service install <your token>
Conclusion & Next Steps
You’ve set up and secured your server -
In the next entries, we will focus on:
- Safely exposing your home server to the internet.
- Revisit Docker for easy, secure, isolated deployments.
https://www.cloudflare.com/learning/cdn/glossary/reverse-proxy/ ↩︎
At the time of writing a refurbised Lenovo ThinkCentre M710q Tiny (Intel Core i5-7th gen Processor, 16GB DDR4, 256GB SSD) is $277.99 CAD on amazon.ca . ↩︎
This is a DigitalOcean affiliate link . By signing up after and spending $25, I’ll get a $25 credit. Even with much of my infrastructure deployed ‘on-premises’, I spend a lot on cloud compute, and this would help me cut down my costs! ↩︎
There are great free VPS tiers from Oracle with AMD and ARM cores, but you pay with your soul, and it has some usage limitations that could lead to an inconsistently available service. ↩︎
Or write it and keep it with your bitcoin. ↩︎
Quote from “Disk Encryption: An Authoritative Guide for Linux Users”, linuxsecurity.com ↩︎
https://tailscale.com/docs/features/tailscale-funnel#how-funnel-works ↩︎
https://developers.cloudflare.com/cloudflare-one/networks/connectors/cloudflare-tunnel/ ↩︎